Showing posts with label Raspberries. Show all posts

Sunday, June 3, 2012

Tale of Two Tarts

There really is no tale.  :)  But it starts with my trip to San Francisco where I always stop by Tartine Bakery for eclaires.  This visit, I also had their Banana Cream Tart.  Wow!  It was amazing so I decided to recreate it with their recipe.  I bought their cookbook years ago and hadn't tried any thing from it.


I had the perfect venue for this tart.  A game night at Jee & Mike's.  I have a group of friends that we always get together for a night of dinner and competitive board games between the boys vs. the girls.  I always try to bring the dessert.  Another Mike who attends hates bananas so I had to have another kind for him, thus made a raspberry version. I actually loved the raspberry one!


Now, this tart is labor intensive!  I'm not kidding, there are so many components to it.  I really recommend not trying to make all the components in one day.  Take a week to make each one on different day and assemble it the day it's going to be served or the night before.


Here are the components:
1. Tart Base, the Dough
2. Melted Chocolate
3. Pastry Cream
4. Caramel Sauce
5. Whipped Cream

Of course the key ingredient is also the fruit, the bananas and raspberries. Use organic whenever possible.  

For the most part, I followed the Tartine's recipe exactly for the components except for the caramel sauce. I used more and have my own version so I'll reference my recipe posted previously.   I also had to cook the tart base longer than indicated in the recipe so noted that, but I love this tart base and will use it again. I used 3 fresh bananas vs. the 2 indicated.  I was also luke warm on the pastry cream.  I don't know if it's my technique but it got a bit grainy even after I strained it.  I'm trying different recipes before I tweak and come up with my own.   


Tart Base
Makes enough for 2 10" tarts
1 tsp Salt
2/3 c Water, very cold
3 c + 2 tbsp All-purpose flour
1 c + 5 tbsp Unsalted butter, very cold
-In a small bowl, add the salt to the water and stir to dissolve. Keep very cold until ready to use.
-To make the dough in the food processor, put the flour in the work bowl. Cut the butter into 1-inch pieces and scatter the pieces over the flour. Pulse briefly until the mixture forms large crumbs and some of the butter is still in pieces the size of peas. Add the water-and-salt mixture and pulse for several seconds until the dough begins to come together in a ball but is not completely smooth. You should still be able to see some butter chunks.
-To make the dough by hand, put the flour in a mixing bowl. Cut the butter into 1-inch pieces and scatter the pieces over the flour. Using a pastry blender or 2 knives, cut the butter into the flour until the mixture forms large crumbs and some of the butter is still in pieces the size of peas. Drizzle in the water-and-salt mixture and stir and toss with a fork until the dough begins to come together in a shaggy mass. Gently mix until the dough comes together into a ball but is not completely smooth. You should still be able to see some butter chunks.
-On a lightly floured work surface, divide the dough into 2 equal balls and shape each ball into a disk 1-inch thick. Wrap well in plastic wrap and chill for at least 2 hours or for up to overnight.
-Preheat the oven to 375F
-Roll dough out to 1/8-inch thick and place into pie dish. Blind bake the shell for 25mins until the surface looks light brown. Remove the shell from oven and remove the weights, return pie shell to oven and bake until golden brown, about 12 minutes longer. 
-Let the shell cool completely on a wire rack before filling.


Pastry Cream
Makes 2 1/2 cups
2 c Whole Milk
1/2 of a Vanilla bean
1/4 tsp Salt
4 tbsp Cornstarch
1/2 c + 1 tbsp Sugar
2 Large eggs
4 tbsp Unsalted butter
-Have a bowl ready for cooling the pastry cream with a fine-mesh sieve resting on the rim.
-Pour the milk into a heavy saucepan. Split the vanilla bean in half lengthwise and use the tip of a sharp knife to scrape the seeds from the pod halves into the milk. Add the salt, place over medium-high heat, and bring to just under a boil, stirring occasionally and making sure that the milk solids are not sticking to the bottom of the pan.
-Meanwhile, in a mixing bowl, whisk together the cornstarch and sugar. Add the eggs and whisk until smooth.
-When the milk is ready, slowly ladle about one-third of the hot milk into the egg mixture, whisking constantly. Pour the egg-milk mixture back into the hot milk and continue whisking over medium heat until about 2 minutes. I order for the cornstarch to cook ad thicken fully, the mixture must come just to the boiling point. You want to see a few slow bubbles. Remove from heat and immediately pour through the sieve into the bowl. Let cool for 10minutes, stirring occasionally to release the heat and prevent a skim from forming on top. 
-Cut the butter into 1-tablespoon pieces. When the pastry cream is ready (temp should be at 140F) whisk the butter into the pastry cream 1 tablespoon at a time, always whisking until smooth before adding the next tablespoon.
-To cool the cream, cover the bowl with plastic wrap, pressing the wrap directly onto the top of the cream (the plastic wrap prevents a skin from forming on the surface). Chill until ready to assemble the tarts.

Whipped Cream
1 c Heavy Cream (very cold)
2 tbsp Sugar
-Pour heavy cream into a mixing bowl and whip with a whisk or a mixer fitted with the whisk attachment until thickened. 
-Add the sugar and continue to whip until it holds medium-firm peaks.
Refrigerate until ready to use.


Caramel Sauce
http://mkdyy.blogspot.com/2010/12/homemade-caramel-saucevv.html 


Assembling of the Banana Cream Tart


Fully Baked and Cooled 10-inch Flaky Tart Dough Pie Shell
3oz Bittersweet chocolate coarsely chopped
1/2 c Caramel Sauce
2 1/2 c Pastry Cream 
3 Ripe Bananas, sliced into 1/4-inch-thick rounds
3 oz Bittersweet chocolate bar for making curls
-Have the pie shell ready for filling. Melt chocolate in a double boiler. Remove from heat.
-Using a offset spatula, pastry brush, or the back of the spoon, spread the melted chocolate evenly over the bottom of the pie shell. Refrigerate for 10minutes to set the chocolate.
-Remove the pie shell from the refrigerator and drizzle the caramel evenly over the chocolate. Transfer the pastry cream to the shell. Arrange the banana slices evenly over the pastry cream, and then lightly press them into the cream.
-Using an offset or rubber spatula, spread the whipped cream on the top. Cover with chocolate curls and powdered sugar (optional)
-Chill the pie until the pastry cream is set, at least 3 hours. Serve the pie cool. 

Assembling of the Raspberry Tart
Fully Baked and Cooled 10-inch Flaky Tart Dough Pie Shell
3 oz Bittersweet chocolate coarsely chopped
1/3 c Caramel Sauce
1 Pastry Cream 
3 pints of fresh Raspberries 
-Have the pie shell ready for filling. Melt chocolate in a double boiler. Remove from heat.
-Using a offset spatula, pastry brush, or the back of the spoon, spread the melted chocolate evenly over the bottom of the pie shell. Refrigerate for 10minutes to set the chocolate.
-Remove the pie shell from the refrigerator and transfer the pastry cream to the shell. 
-Arrange raspberries evenly over the pastry cream, and then lightly press them into the cream.
-Using a spoon, drizzle the caramel sauce over the fresh raspberries evenly, 
-Sift the powdered sugar over the raspberries
-Chill the tart until the pastry cream is set, at least 1 hour. Serve the pie cool.

It was work but I loved every minute of it!  The gamers gave me good feedback and more ideas for the future!  Give it a go!

Sunday, May 20, 2012

Raspberry Jam Bar

This was a nice weekend of baking and making goodies. I ended Sunday by baking more jam bars.  There is this nice soul at work that has helped me whenever I asked and has been a technical resource that has helped me tremendously.


I've been meaning to bake some goodies and will drop these off.


These are the same orange jam bars but made with raspberry jam.


Enjoy!

Friday, August 6, 2010

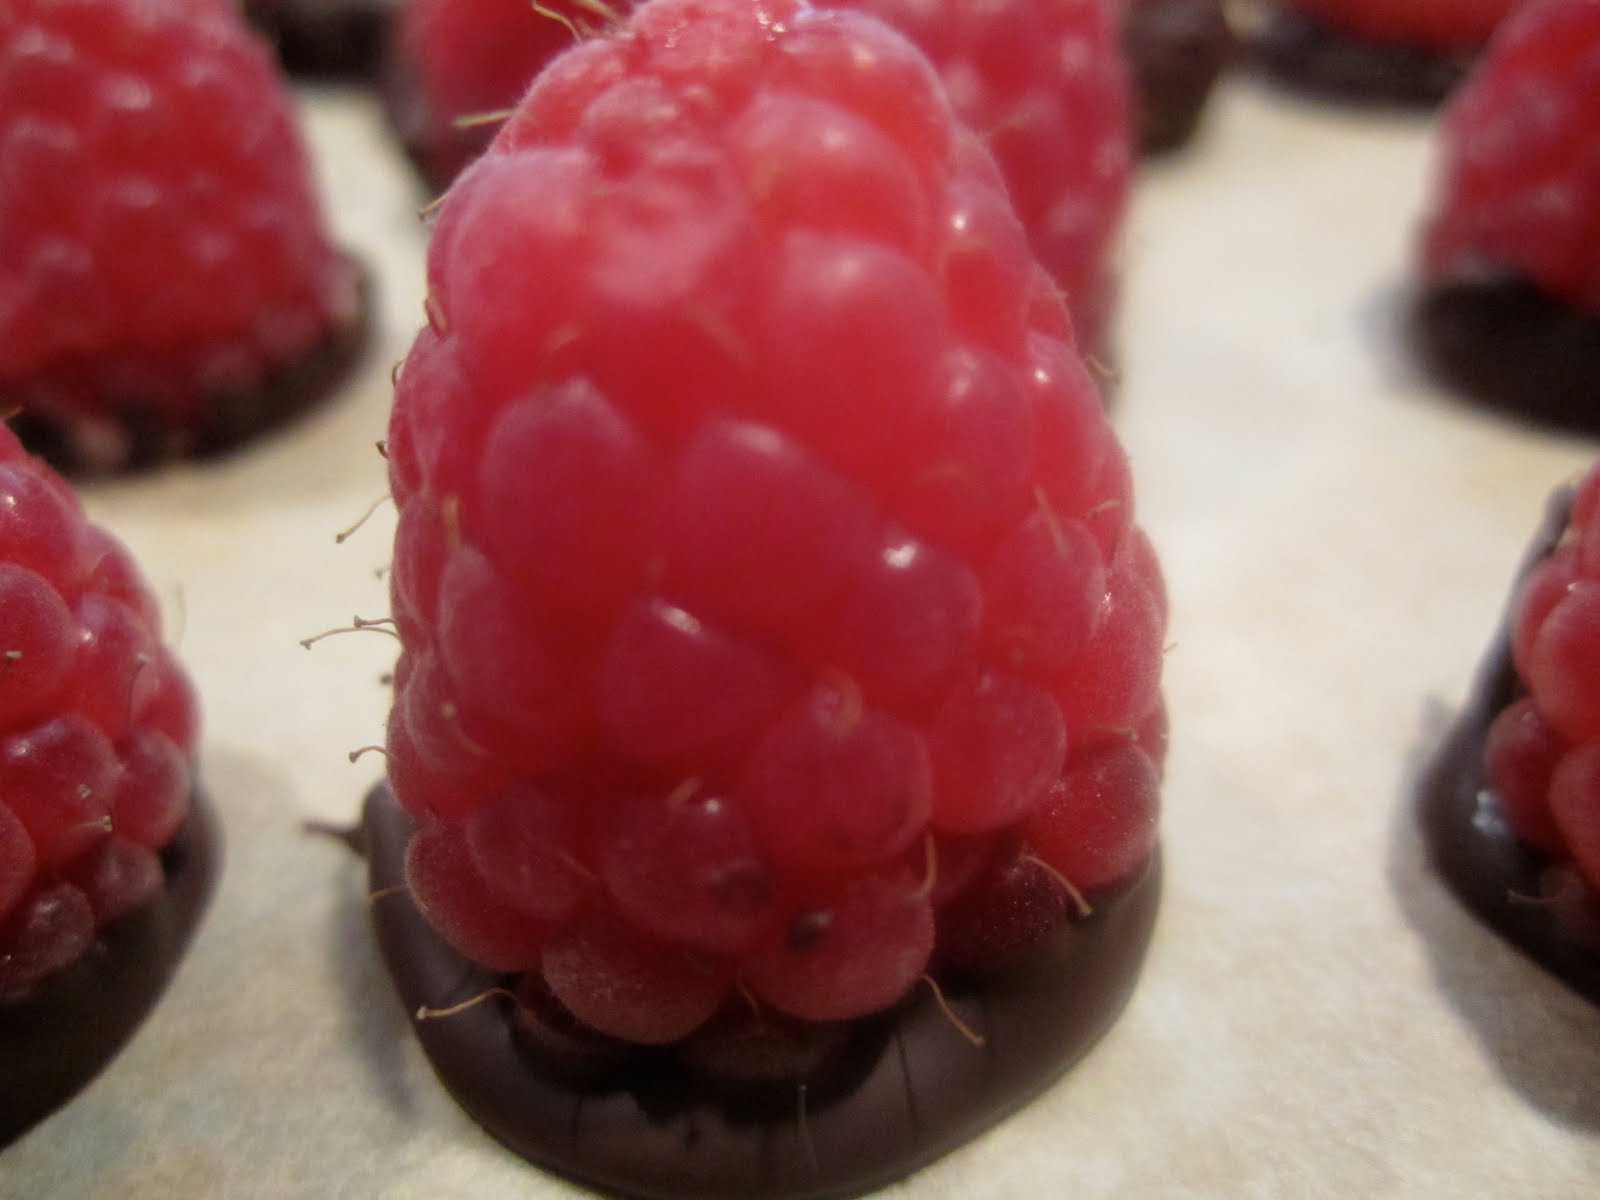
Chocolate Dipped Raspberries


People love fruits dipped in chocolate.  Way back I made a chocolate cake and wanted to top it off with fresh raspberries but the berries kept bleeding after an extended time that I decided to dip the bottom in chocolate and then place them on the top of the cake.  This solved the bleeding problem and I discovered they were really great dipped in chocolate, especailly dark chocolate.


Raspberries are also hollow because of the way they come off the vines.  I've filled them chocolate ganache.  This time I decided to fill them with a little black and white mousse and dip them in dark chocolate. 


It was my friend Bia's birthday last weekend, and she loves sweets so I thought this would be perfect.


For the Mousse
1/2 co of cold heavy cream
4 Tbl spoons of powder sugar
2 oz of dark chocolate melted.


-Beat heavy cream until soft peaks
-Add power sugar and mix
-Fold in melted chocolate and mix right away or it will harden and clump


For Raspberries
2 pints of fresh raspberries.  The bigger the better
4 oz of dark chocolate


-Using a small spoon or piping bag, fill the raspberry hallows with the mousse.
-Place them on a flat tray or sheet pan lined with parchment paper
-Refridgerate for at least 15 min
-Melt the chocolate in a double boiler, taking off heat if it gets to hot. You don't want to scortch the cholocate.
-Take the filled berries out of the fridge and dip the bottem in the melted chocolate and place them on tray or sheetpan lined with parchment paper.  You can use the same or a clean one.
-Wait 10 to 15 min for chocolate to harden and serve.
-If warm weather, make sure to refridgerate and keep chocolate cold.


You will have leftover melted chocolate. The best thing to do with them is add some roasted or raw nuts and make some chocolate candy haystacks with them.  Just mix in the nuts until all the chocolate is absorbed.  Sprinkle some slat.  Dump onto a lined tray or plate....and viola.  


Sunday, July 4, 2010

Berry Berry Jams

I love jams!  I love making jams!  I love picking fresh berries and making jams!
One of my favorite things to do at the start of summer is to pick berries and then make freezer jams.  I make enough jams to last me a whole year, and also give out to my dear friends.


This is what I did today with friends.  We went to the Remlinger Farms in Carnation, WA,  where they have organic strawberries which were already 2 weeks in season, and today was the start of raspberry season.  The fruits weren't as plentiful as in the years past because as you all know in Seattle, we've not had much of a summer.  Still yet, the fruits were good, much better than any you buy at the store.  You can tell by the sweet smell of the berries which are much sweeter than even the organic ones in the store...


Started at 9am in the morning with a trip to the farm....


Here is the gang, except Bia who joined us a little later.


The strawberries at these farms are always much smaller than what you see at the grocery stores.   This is what makes flavorful jams and these are really sweet!


It took a whiles but were able to fill our flat


After the strawberries, we went to pick the raspberries.  Now the strawberries are smaller than the ones you normally buy, but raspberries are much bigger than the raspberries you see in the store.   They are just as sweet and flavorful.


But, there were more green ones than the red ones.


We were able to find a good amount of it though.


At the end of day, were able able to go home with about 1 full flat of raspberries and 2 full flat of strawberries.  $1 per pound for strawberries and $2 per pound for the raspberries.  What a deal!


Now home to make the jam....


I like to make freezer jam because you don't have to cook the berries. Cooking berries kills the  enzymes, the freshness, and the vibrant summer flavors of the berries.   Freezer jams help retain the flavors because you store them in the freezer and they won't spoil. Amazingly they stay very fresh.  You can keep it in the freezer for up to 1 year, I think I've gone even 1 year and half.  Below is the recipe I use from the back of the pectin label.  Below are pictures of how we spent the day making it, and then enjoying with some bread.


8 cups of crushed berries
3 cups of Sugar
2 packages of instant pectin
-Stem and wash the berries well.  Drain all the water.
-Put the berries in a large bowl.  Crush the berries using your hands.  Wear plastic gloves because berries will stain the fingers.
-Mix the sugar and pectin and combine well using a wire wisk.
-Pour the sugar/pectin mixture into the berry mixture and stir well.
-Ladle or pour the berry mixture into the clean mason jars.  Let sit at least 30 minutes and cover with lids.
-Put the finished jams into freezer or refrigerate if you are going to eat right away. 
-When you want more jam, take out of freezer and let sit in refrigerator for a few hours until defrosted.
-Serve them with your favorite bread, ice cream, or any other times you need a sweetness of a fresh fruit jam.


Once we got home, we got started with removing the stems of the strawberries.


Then washed them with water then drained.


After that, it's time to smash the berries with hand. It's okay and good to have some good chunky pieces.


For the raspberries or anytime you make berries with lots of seeds, make sure to strain the berry juice.  Save 1/2 seeds and add them back to the juice mixture.  If you kept all the seeds then it's too much and too distracting, but you need the seeds to give characteristics of the berry, raspberry in this case.


Here is what your final mixture will look like.


Next you prepare your pectic and sugar mixture.  These are considered dry ingredients, so they need to be mixed evenly before adding to the berry mixture.


After the berry an sugar/pectin mixture is well combined, then you ladle them into your jars.


Or your can pour them via funnel.  Whatever is the easiest or the kind of jars you are using.


Here are our final jars...


We enjoyed them with fresh bread and croissants.


We ended up making 63 jars, sizes varied from 1 pint jars to 1/4 pint jars. Phew, another year good of berry jams.  I will try other fruits with the seasons....


Related Posts Plugin for WordPress, Blogger...