Friday, August 6, 2010

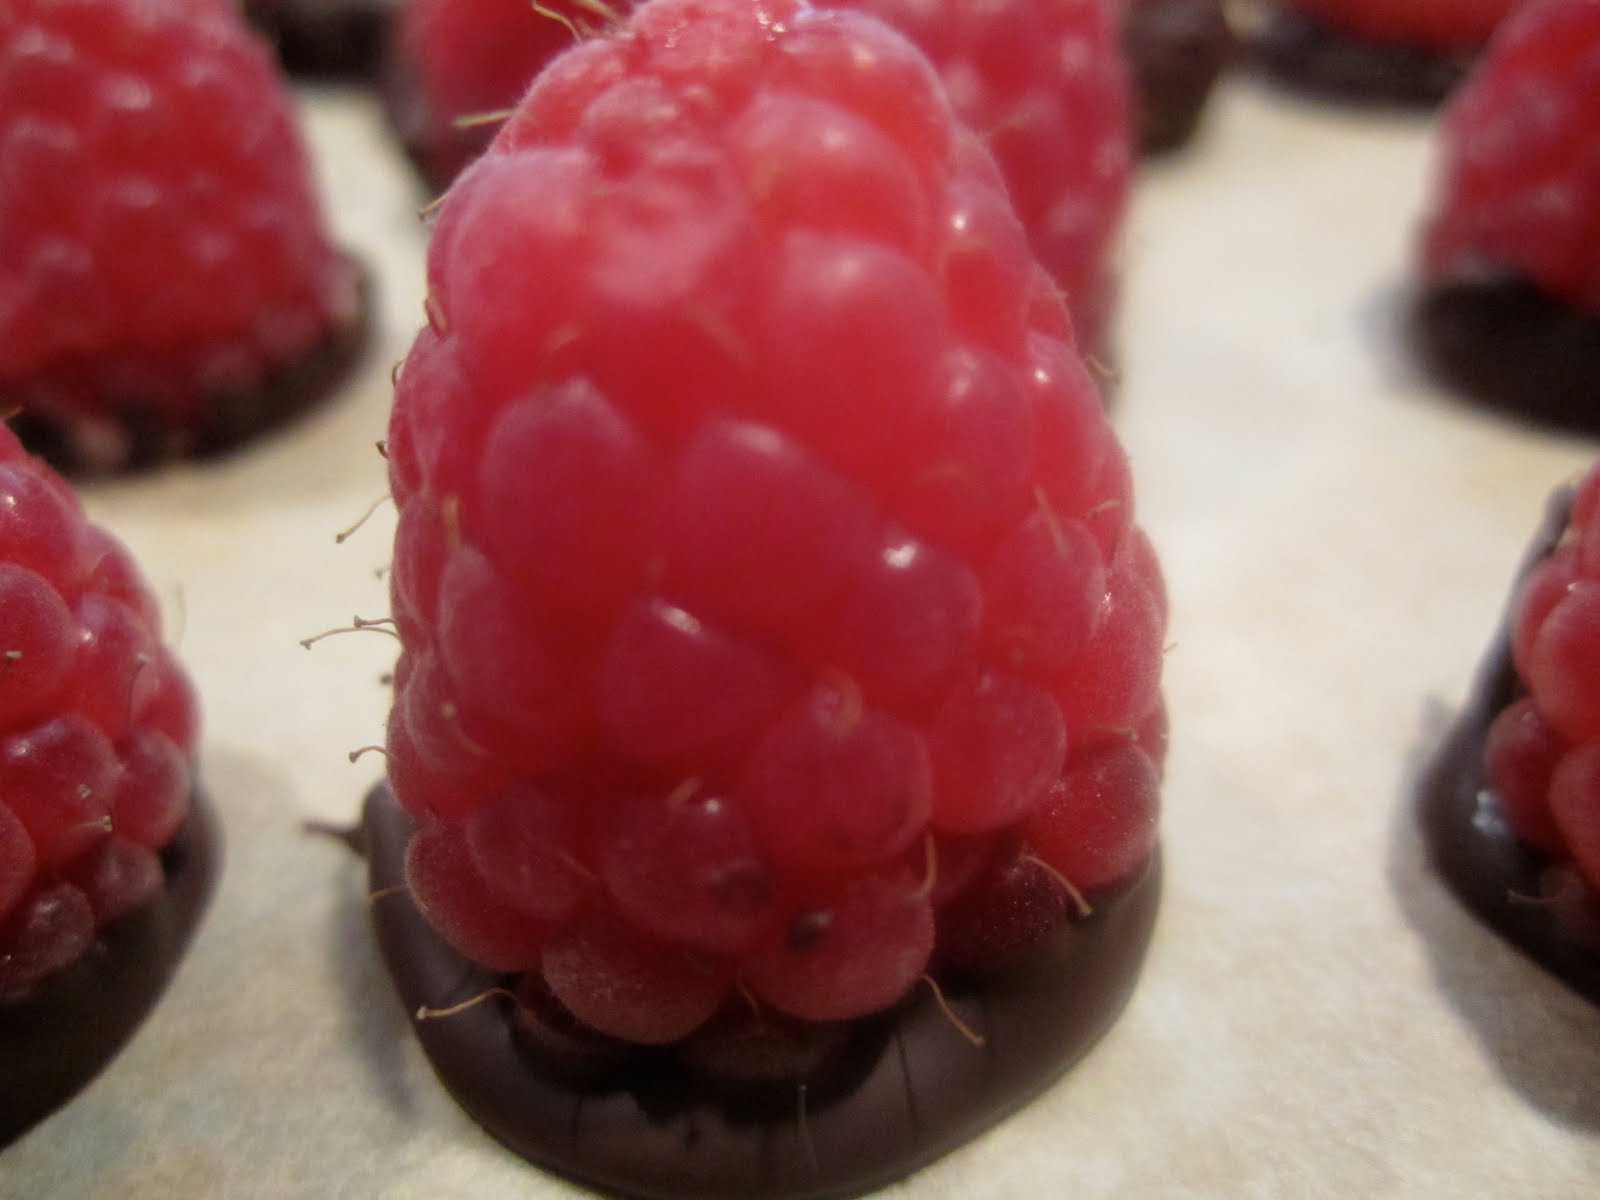
Chocolate Dipped Raspberries


People love fruits dipped in chocolate.  Way back I made a chocolate cake and wanted to top it off with fresh raspberries but the berries kept bleeding after an extended time that I decided to dip the bottom in chocolate and then place them on the top of the cake.  This solved the bleeding problem and I discovered they were really great dipped in chocolate, especailly dark chocolate.


Raspberries are also hollow because of the way they come off the vines.  I've filled them chocolate ganache.  This time I decided to fill them with a little black and white mousse and dip them in dark chocolate. 


It was my friend Bia's birthday last weekend, and she loves sweets so I thought this would be perfect.


For the Mousse
1/2 co of cold heavy cream
4 Tbl spoons of powder sugar
2 oz of dark chocolate melted.


-Beat heavy cream until soft peaks
-Add power sugar and mix
-Fold in melted chocolate and mix right away or it will harden and clump


For Raspberries
2 pints of fresh raspberries.  The bigger the better
4 oz of dark chocolate


-Using a small spoon or piping bag, fill the raspberry hallows with the mousse.
-Place them on a flat tray or sheet pan lined with parchment paper
-Refridgerate for at least 15 min
-Melt the chocolate in a double boiler, taking off heat if it gets to hot. You don't want to scortch the cholocate.
-Take the filled berries out of the fridge and dip the bottem in the melted chocolate and place them on tray or sheetpan lined with parchment paper.  You can use the same or a clean one.
-Wait 10 to 15 min for chocolate to harden and serve.
-If warm weather, make sure to refridgerate and keep chocolate cold.


You will have leftover melted chocolate. The best thing to do with them is add some roasted or raw nuts and make some chocolate candy haystacks with them.  Just mix in the nuts until all the chocolate is absorbed.  Sprinkle some slat.  Dump onto a lined tray or plate....and viola.  


Thursday, August 5, 2010

Tartine Bakery

I had a business trip to SF and thus had to stop by and discover Tartine Bakery.  I bought their cookbook about a year ago and only tried making a few items.  They are all over the best bakery in the US list, TV shows, and the food mags.  I heard their croissant were one of the best. 


So as I got to the bakery, there was already a line out the door on a Monday early evening.  The place was really urban, rustic, and very neighborhood.  Their cases were filled with beautiful cakes, coconut, bavarian, double chocolate, and many more.  Many that I had seen pictures and recipes of in their cookbook.  Their baked goods really had style.  I would say, one of the fashionistas of the bakery world.  Modern but rustic at the same time, without the pretentiousness. 


I was super excited to try and picked up a few items...croissant, lemon cream tart, chocolate eclairs.  I have to say, I was a bit disappointed. 


The Croissants
These weren't all that for me.  It looked rustic, flaky, and amazing but it was more bready and not as buttery as I had hoped.  My favorite is still from Besaulu in Ballard.  Don't get me wrong, they looked amazing but it wasn't great alone. I craved some butter and jam, which I don't with Besalu's.  The crust wasn't crispy flaky and the middle was the freshly, soft, pully middle.


The Lemon Cream Tart
These looked so beautiful.  I've not come across anyone else doing a cream version of the lemon tart.  Again, super excited to try because I wanted to make this recipe but didn't get a chance.  Well...it was too "eggy" for me.  The texture of the lemon cream was silky and the pastry was perfect, but the egginess told me that it wasn't as fresh.  The whipped cream topping was not sweeten..it seams. 


The Chocolate Eclair
This was the only one that lived up to the hype. Wow!  Best eclair I've had.  The pastry cream filling was amazing, with perfect silky texture with true vanilla flavors.  You can see the vanilla beans.  They use Valrhona chocolate for the glaze and you can tell.  It was a nice deep, woodsy chocolate flavors that balanced well with the custard and the pastry.  


They are more expensive than any other bakeries I've been to.  Eclair alone was 4.95.  Maybe it's the prices in this market.  It didn't seem to keep the crowds away.  I do hope to have similar atmosphere and food style when I open my own bakery.  


Maybe next time I come to visit, I'll have to try again, maybe freshly baked item in the morning.

The Bread


A good loaf of bread is like heaven....today I received a gift of loaf of freshly baked bread from my friend Anya.  She makes this bread weekly, and this week she made an extra thus I was the lucky one to receive.


Beautiful texture, chewiness, great flavor with right amount of salt.  Samad and I had a late night snack of it.  I ate mine with almond butter and strawberry jam.  Samad had his plain...saying a great bread doesn't need anything else.


This is the "No Knead Bread" that I've mentioned here.  I tried making this myself but mine didn't have the right flavor and the softness Anya's had.  I blamed in on the cold weathers and using a metal bowl.  I'll have to try again.  Here is the recipe below which is from NYC times link.  


Adapted from Jim Lahey, Sullivan Street Bakery
Time: About 1½ hours plus 14 to 20 hours’ rising

3 cups all-purpose or bread flour, more for dusting
¼ teaspoon instant yeast
1¼ teaspoons salt
Cornmeal or wheat bran as needed.
1. In a large bowl combine flour, yeast and salt. Add 1 5/8 cups water, and stir until blended; dough will be shaggy and sticky. Cover bowl with plastic wrap. Let dough rest at least 12 hours, preferably about 18, at warm room temperature, about 70 degrees.
2. Dough is ready when its surface is dotted with bubbles. Lightly flour a work surface and place dough on it; sprinkle it with a little more flour and fold it over on itself once or twice. Cover loosely with plastic wrap and let rest about 15 minutes.
3. Using just enough flour to keep dough from sticking to work surface or to your fingers, gently and quickly shape dough into a ball. Generously coat a cotton towel (not terry cloth) with flour, wheat bran or cornmeal; put dough seam side down on towel and dust with more flour, bran or cornmeal. Cover with another cotton towel and let rise for about 2 hours. When it is ready, dough will be more than double in size and will not readily spring back when poked with a finger.
4. At least a half-hour before dough is ready, heat oven to 450 degrees. Put a 6- to 8-quart heavy covered pot (cast iron, enamel, Pyrex or ceramic) in oven as it heats. When dough is ready, carefully remove pot from oven. Slide your hand under towel and turn dough over into pot, seam side up; it may look like a mess, but that is O.K. Shake pan once or twice if dough is unevenly distributed; it will straighten out as it bakes. Cover with lid and bake 30 minutes, then remove lid and bake another 15 to 30 minutes, until loaf is beautifully browned. Cool on a rack.

Thanks Anya!

Sunday, July 25, 2010

Peach Galette

One of the easiest summer desserts are fruit galettes.  It takes 5-10 mins to prep and about 40 mins to bake (assuming dough is already made).  Yes, I do use store bought pie dough some times.  It makes things easier when I don't have time to roll out my own.  Or I make the dough ahead of time and break out into hockey puck disk and wrap it in plastic and roll out before use.

Here is all you need...

Ingredients
1 package of pre-made pie dough (your own or store bought)
2 peaches thinly sliced
2 tablespoon of cold butter
3 tablespoon of sugar
Pinch of salt
Egg wash (1 egg and some water or milk)

Preheat oven to 350 degrees
Roll out the pie dough into about 9 to 10 inches, doesn't have to be perfectly round.  
Arrange the peach slices in a spiral, distributed evenly leaving about about 1 1/2 inches of end pie dough open. 
Fold and tuck the open pie dough over, folding in to form a rough circle.
Sprinkle the sugar all over the fruit.
Sprinkle the salt.
Put small pieces of the butter all over the peaches.
Brush the crust with an egg wash, then sprinkle more sugar on top.
Bake for about 30-40 min until crust is golden brown.
Server warm with ice cream.


You can make this with plums, apples, or any seasonal fruit.  I some times like to combine berries with stone fruits.  This particular recipe is great to add some blueberries or blackberries.  Use your favorite fruit combo.


Tuesday, July 20, 2010

Osteria La Spiga

A few weeks ago, the girls...Joan, Stephanie, Soung, and I went to Osteria La Spiga for a little dinner.  This place is in the new trendy part of Capitol Hill.  They make all their pastas by hand and the sauces are simple.  It was a simple dinner of wine and pastas.  


Joan had the classic Bolognese


Stephanie had green Lasagne


Soung had simple Tomato sauce


and I had Truffled butter...very simple dish but had robust flavor and smell of truffles.  One of the best ways to enjoy the truffles.

Sunday, July 18, 2010

Tomato & Cheese Biscuits

This Sunday morning, I also made some savory Biscuits.  If I ever have a signature baked item, it will probably be various version of this. I love savory baked goods, especially in a biscuit.  It's a pastry you can eat for breakfast, lunch, and dinner.


Ingredients
Dry
3 cups of All Purpose Flour
1/4 cups of Sugar
1 tbs of Baking Powder
1 tsp of Salt
1/2 cup of 1 stick of "cold" Unsalted Butter (cut up in dice sizes)
Wet
1/2 cups of Buttermilk
1 Egg
Other
1/2 tsp of each of the following dried herbs:  Dill, Thyme, Basil, Oregano

1 tsp of black or white pepper
1/2 cup of Parmesan Cheese
1/4 cup of Sharp Cheddar Cheese
1 Tomato Chopped
1/2 cup of Onion ChoppedKosher Salt for sprinkling

-Preheat your oven to 365
-Mix all the dry ingredients (except butter) in a small bowl. Once combined, add the butter and use blend.  Blending can be done with a stand mixer or food processor or pastry cutter or just using your fingers by pinching the butter and flour between your fingers. The goal is to get a nice crumbly mixture where the dry ingredients Incorporated into the butter and you have a dusty, crushed graham cracker texture.
-Next, combine buttermilk and egg and put into a pourable cup or measuring cup.
-Add your flavor components now to the dry mixture. Start with the herbs and pepper into the dry mixture and toss well.  Add both of the cheese and again mix well.  Now add the final tomatoes and onions.  Now slowly add the milk/egg mixture into the dry mixture a little bit at a time, tossing thoroughly until all the wet mix is incorporated.  The goal is to get the dry mixture just enough of the wet for a moist combo evenly.  You might not need the full wet mixture.  If the tomatoes are really juicy, you might not need as much.  Get a good feel until you can form a nice, but not sticky dough.
-Dump the final mixture onto a floured hard surface and using a scraper just pull and press the mixture together to form nice mound.  Toss flour on top and roll out to about 2 inch thick.  Using a biscuit cutter, cut into the dough and place each biscuit onto a sheet pan lined with parchment paper.  Put the sheet pan into the refrigerator for about 30 min until biscuits are cold.
-Take the biscuit out of the refrigerator and brush with any leftover wet mixture.  Sprinkle the top with some salt.
-Bake for 35-45 min until golden brown.  Eat right out of the oven or cool about 10 min.


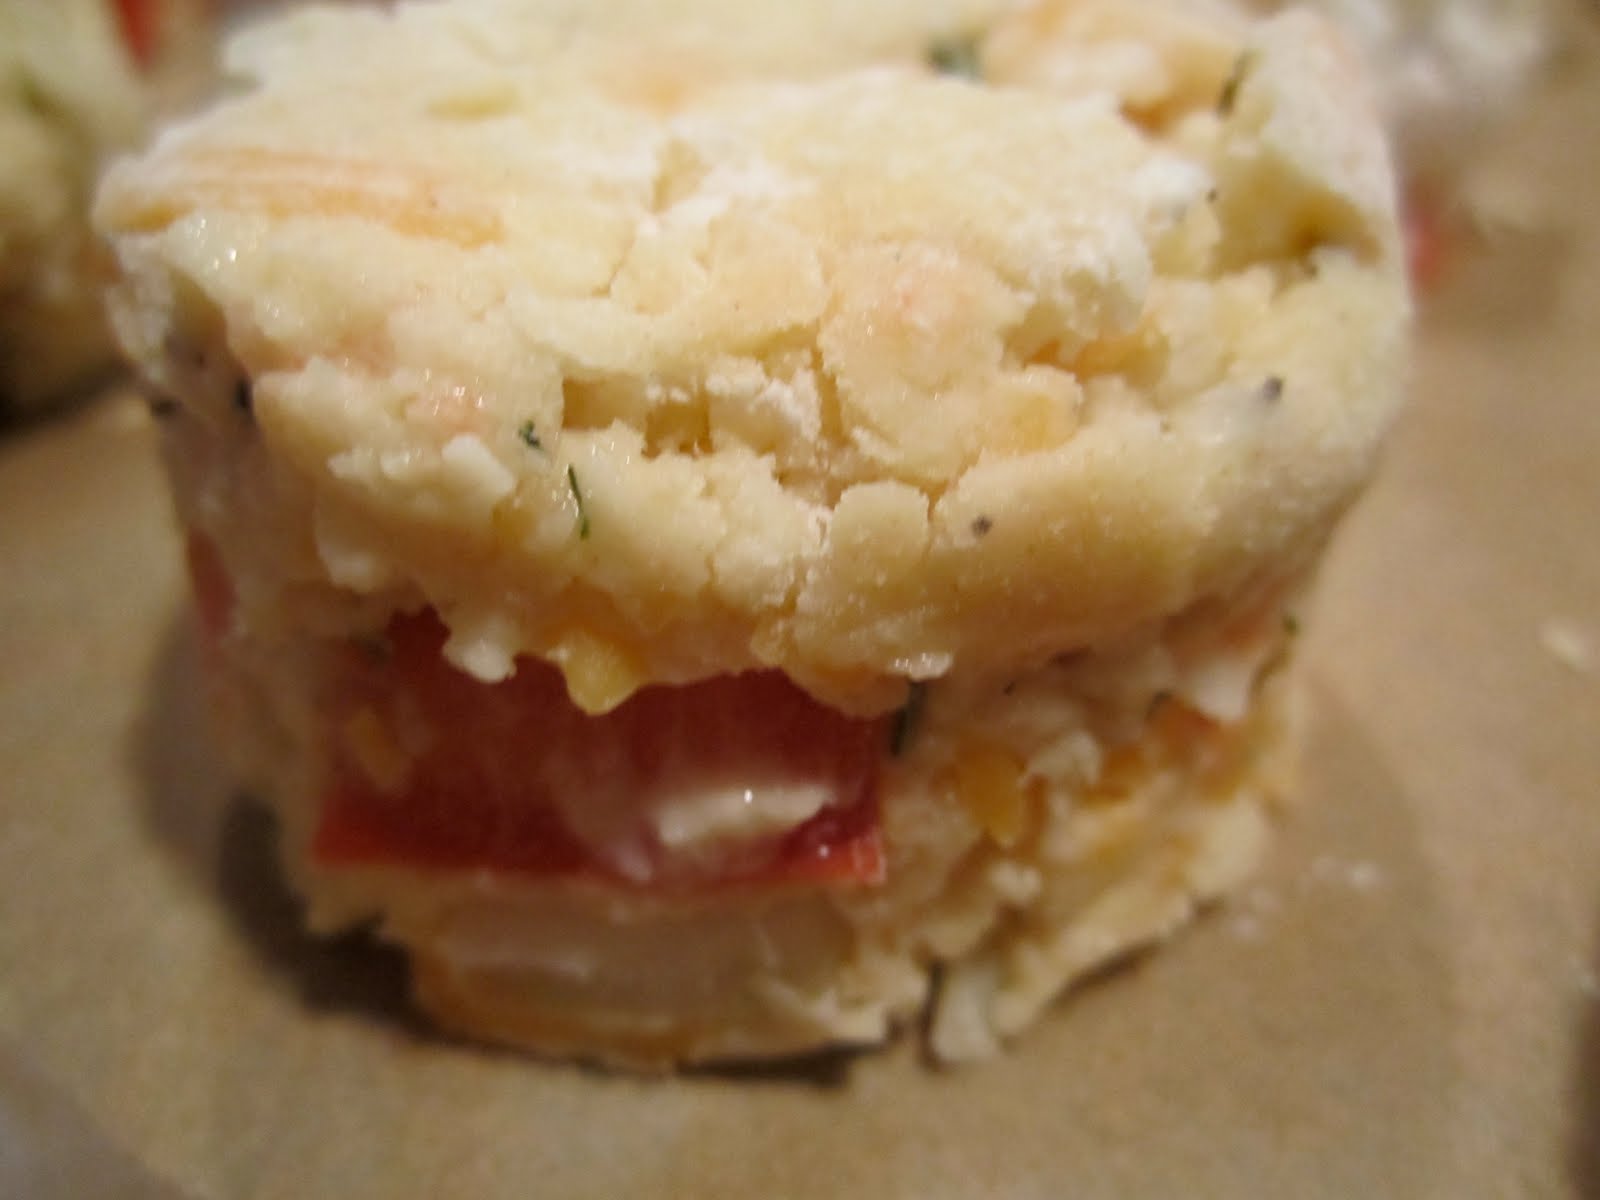
Before the oven...


Hot out of the oven...serve with eggs and bacon for a complete breakfast, or salad or soup with lunch, and for dinner with your protein.


Blackberry Scones

Sunday mornings should be started off with freshly baked goods.  This morning I made Blackberry scones and some biscuits.  


I like my scones on the drier side with the crumbly tidbits at the edges of the scones.  Most scones I find are made too wet, either too much fat and/or buttermilk or cream.  Mine didn't turn out perfect today either.  Mine came out too wet.  It was still pretty darn good.


Scones and/or biscuits take a careful hand.  You don't want to handle too much or the pastry becomes too tough.  I've been able to develop my skills for this working at Bothways Cafe a few years back.  This is one pastry where you can have a great recipe but it's the technical skills and practice that enables great results.


I've been in search of a perfect combo for the dry ingredients but still need to work at it.  The one that comes closet to my ideal scone is from the Grand Central Bakery.  I tweak their dry ratios but used my own for the wet.  The ratio changes also with the "other" flavor components.  If you are using mainly dry fruit and nuts, then you need more of the wet component.  If you use fresh fruit or even frozen, then less.  For this reason, when you are combining the wet and dry, use your judgement and experiment with the ratios until you get the texture of the scones you like.  


Ingredients
Dry
3 cups of All Purpose Flour
1/4 cups of Sugar
1 Tbs of Baking Powder
1 tsp of Salt
1/2 cup of 1 stick of "cold" Unsalted Butter (cut up in dice sizes)
Wet
3/4 cups of Buttermilk
1 Egg
Other
3/4 cups of Blackberries (I like to use frozen berries because it's easier to work with.)
Turbinado Sugar for sprinkling
Kosher Salt for sprinkling


-Preheat your oven to 365
-Mix all the dry ingredients (except butter) in a small bowl. Once combined, add the butter and use blend.  Blending can be done with a stand mixer or food processor or pastry cutter or just using your fingers by pinching the butter and flour between your fingers. The goal is to get a nice crumbly mixture where the dry ingredients Incorporated into the butter and you have a dusty, crushed graham cracker texture.  
-Next, combine buttermilk and egg and put into a pourable cup or measuring cup.
-Add your flavor components now to the dry mixture.  In this case I put the frozen blackberries into the flour/butter mixture and tossed gently.  Now slowly add the milk/egg mixture into the dry mixture a little bit at a time, tossing thoroughly until all the wet mix is incorporated.  The goal is to get the dry mixture just enough of the wet for a moist combo evenly.  
-Dump the final mixture onto a floured hard surface and using a scraper just pull and press the mixture together to form nice round about 2 inch thick.  All you are doing is creating form and not mixing or smashing.  Cut the form into 6 pieces like you are cutting a pizza.  Place each scone onto a sheet pan lined with parchment paper.  Put the sheet pan into the refrigerator for about 30 min until scones are cold. I find you get flakier scones this way.
-Take the scones out of the refrigerator and brush with any leftover wet mixture.  Sprinkle with sugar and then salt.
-Bake for 35-45 min until golden brown.  Eat right out of the oven or cool about 10 min.


Before going into the oven...


Final product....


Bon Appetite!

Sunday, July 11, 2010

Homemade Pizza

Today, I spent the day in Ballard watching world cup and shopping at the farmer's market.  It was seafood fest in Ballard.  Samad and I were going to try and watch it at the new Market Arms.  We got there an hour before and the lines around the block.  We tried to find a few other places that were showing the game with sound and ended up at the newly open place The Noble Fir.  


The Noble Fir is a drink place in Ballard.  They don't have much food, just cheese and appetizer plates.  Their dessert menu are 3 different Theo chocolate bars...enough said.  Their drinks are great though, they have a great selections of drafts and a few ciders. I ended up drinking 2 pts of cider.  


Anyways, this lead us to the farmer's market where I got inspired to make pizza for dinner.  


The Dough
I made the dough a day ago, eager to make the No Knead Bread again with the warm weather in the air.  My friend Anya told me to use this as pizza dough a while back and we did use the recipe for the Homeless cooking a few months back.  So, I decided to make pizza instead of bread. I do have to say, this dough makes great pizza.  It can be thin and crispy if you roll it out very thin, or chewy and crusty as a thicker roll out.


The Toppings
I picked up some great porcini mushrooms, truffle formage, and fresh basil at the market.  On our way back to my place, we saw some rosemary bush so broke off a twig and put in our bag.  


The Result
I made 3 different kinds....


Truffled Porcini
This had porcini mushroom, tuffled formage, truffle salt.


Rosemary Potato
This had thinly sliced organic potatoes, porcini mushrooms, white onions, chili flakes, freshly chopped rosemary, and parmesean reggiano cheese.


Margarita
This was your classic. Made with San Marzano tomatoes, fresh basil, but no mozzerella, thus used parmesean.  Soung was over so had to make some vegan too.


Related Posts Plugin for WordPress, Blogger...